Connections
A project connects in two steps. Connection Settings chooses the transport and the values written into the sketch. Bind Device remembers which board the phone should use. Changing the connection unbinds the previous device, so the phone does not keep a binding that no longer matches.
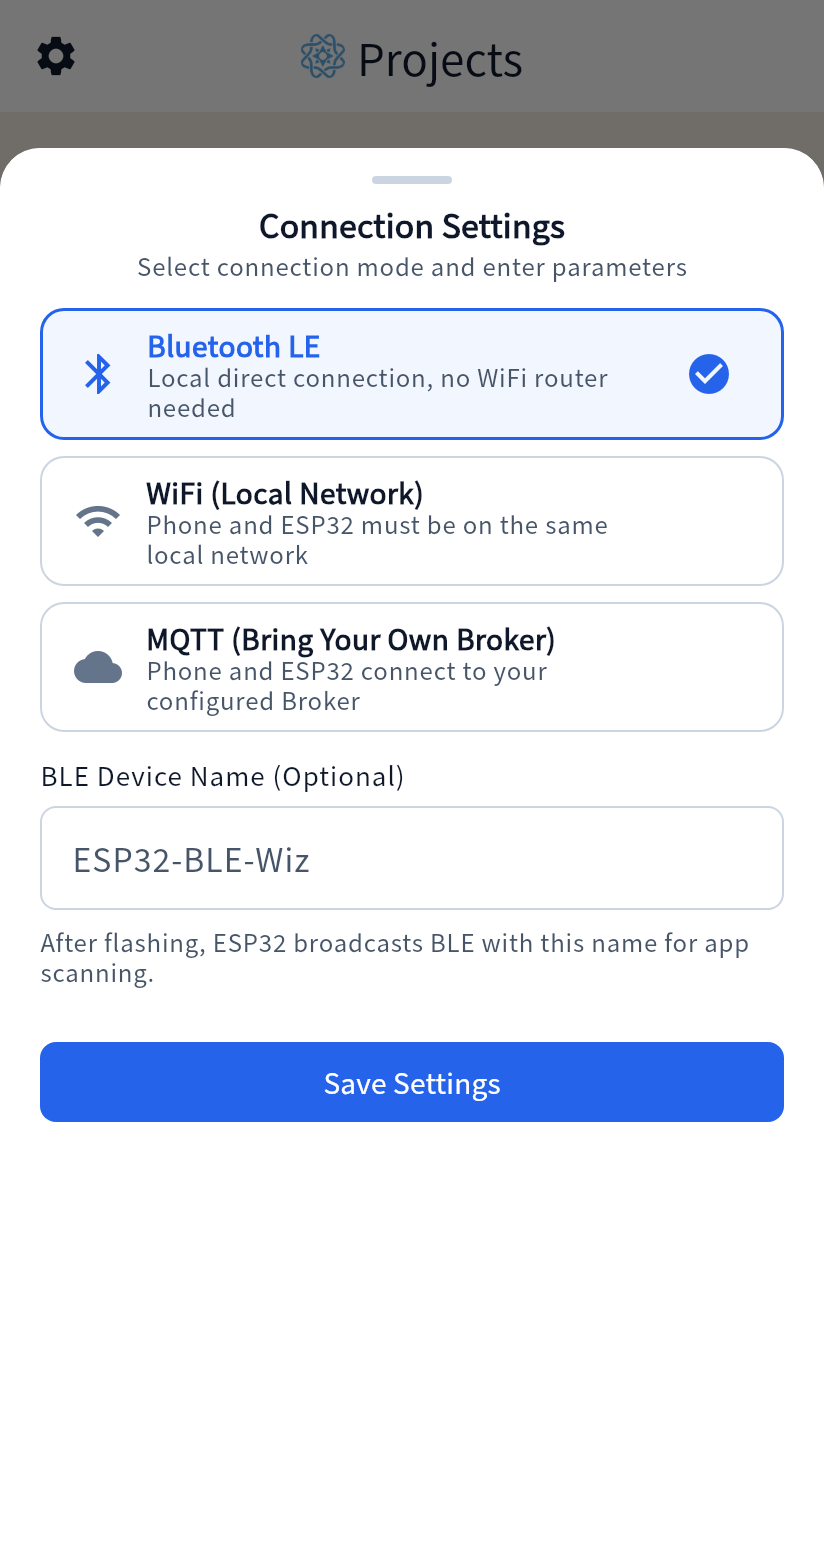
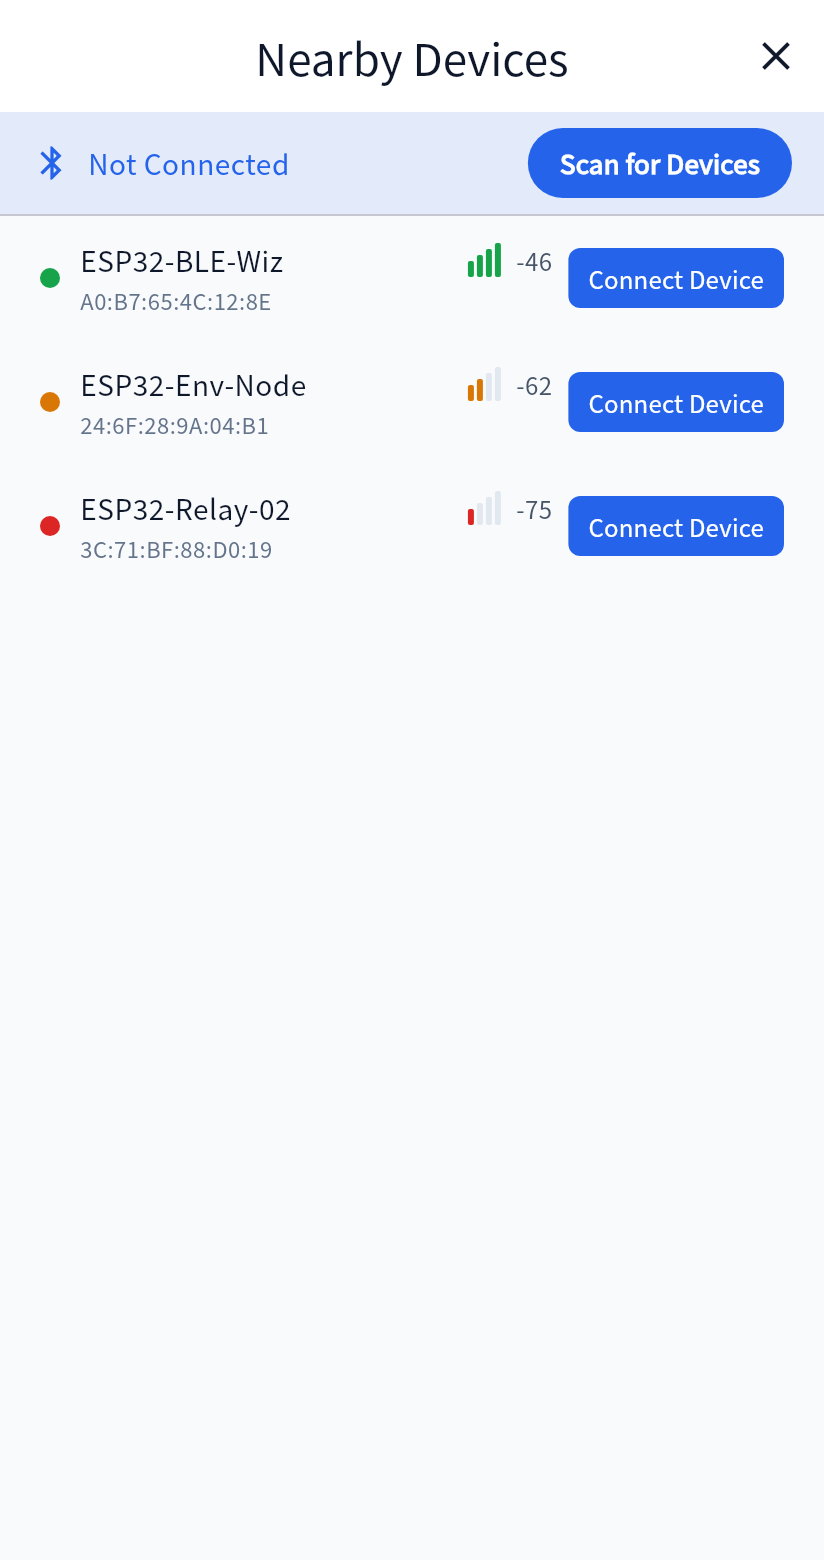
BLE fits when the phone is next to the board.
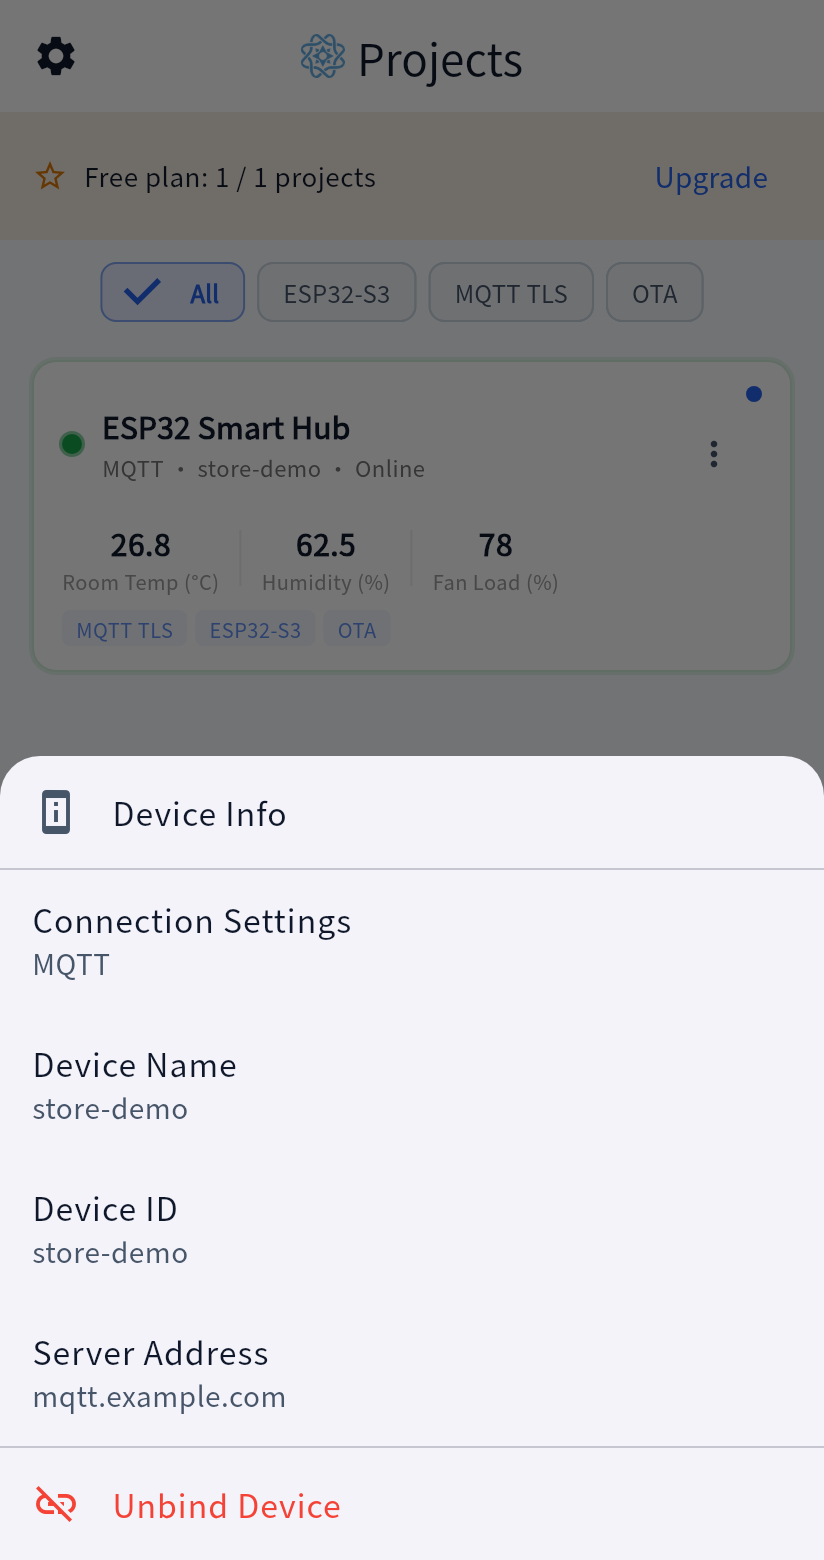
Settings can leave the device name empty. To bind, the app scans for a board that is already advertising and stores its Bluetooth identifier. Device Info, in the project menu, shows the binding and can clear it. If the link drops while the app is still running, the app tries to connect again.
Before compiling the BLE sketch, install NimBLE-Arduino and ArduinoJson (v7 or later) in the Arduino IDE. See Required Arduino libraries.
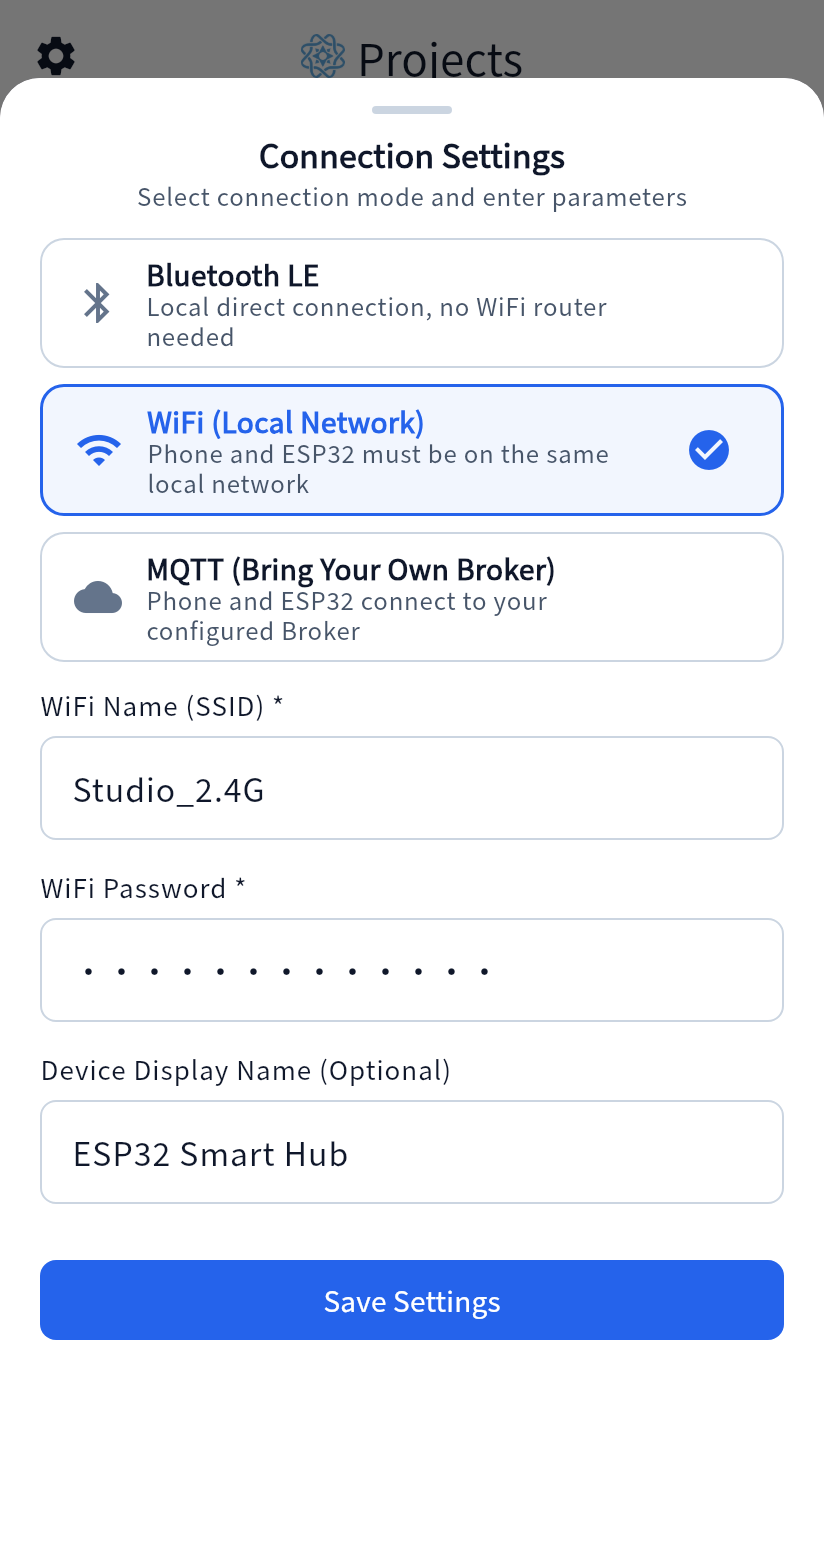
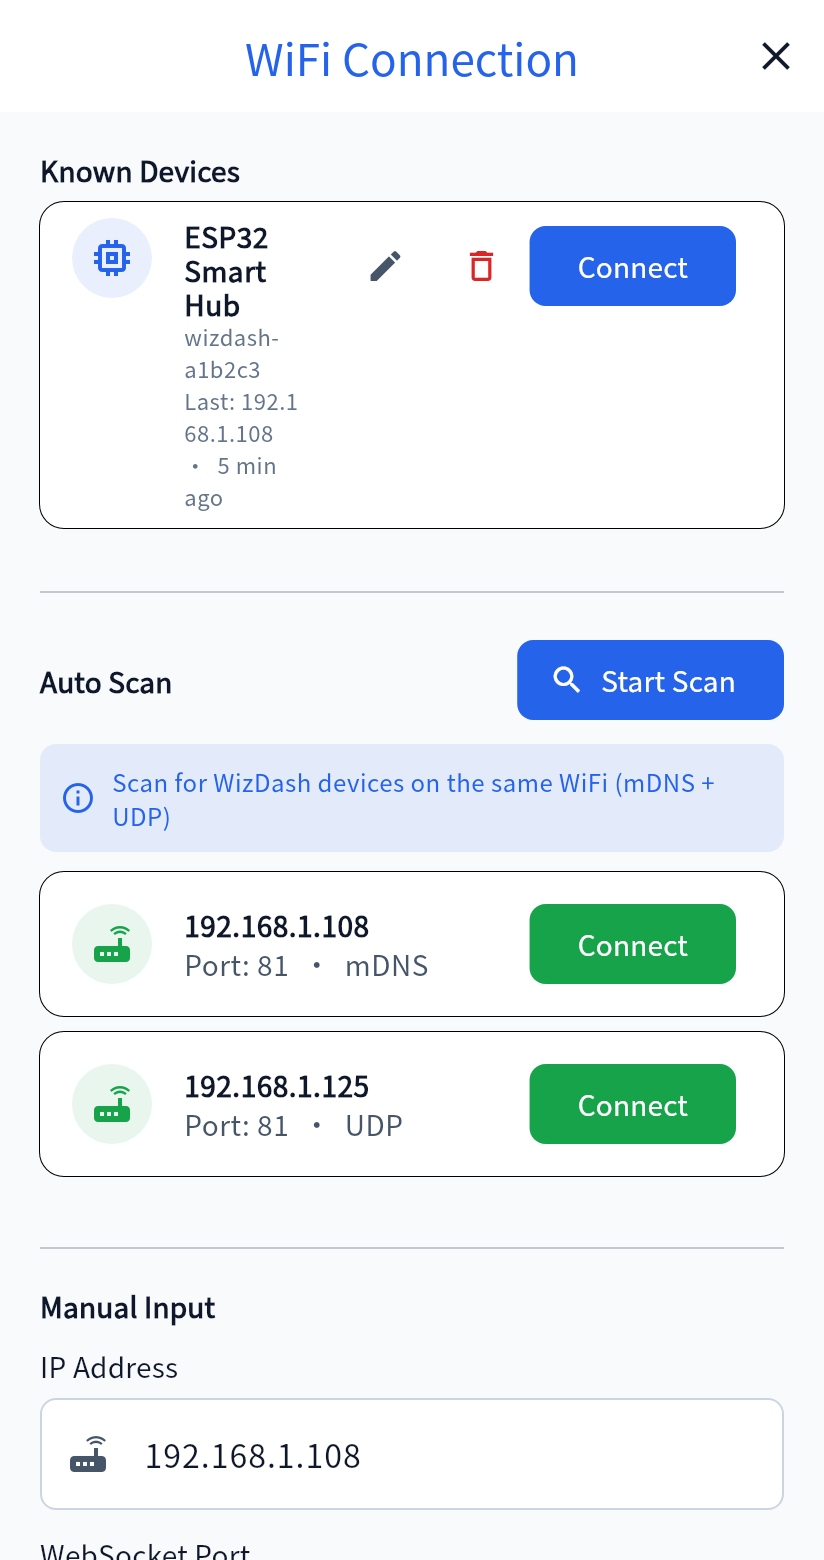
In WiFi mode the phone and the ESP32 must be on the same local network.
Enter the WiFi name and password the ESP32 should join. Those values are written into the generated sketch, so the board connects when it starts. You can bind by scanning the local network, by choosing a known device, or by entering an IP address. If the board receives a new address, scan again.
This connection stays inside the local network. An internet connection on the phone does not reach a board on another network.
Before compiling the WiFi sketch, install WebSockets (by Markus Sattler) and ArduinoJson (v7 or later) in the Arduino IDE. See Required Arduino libraries.
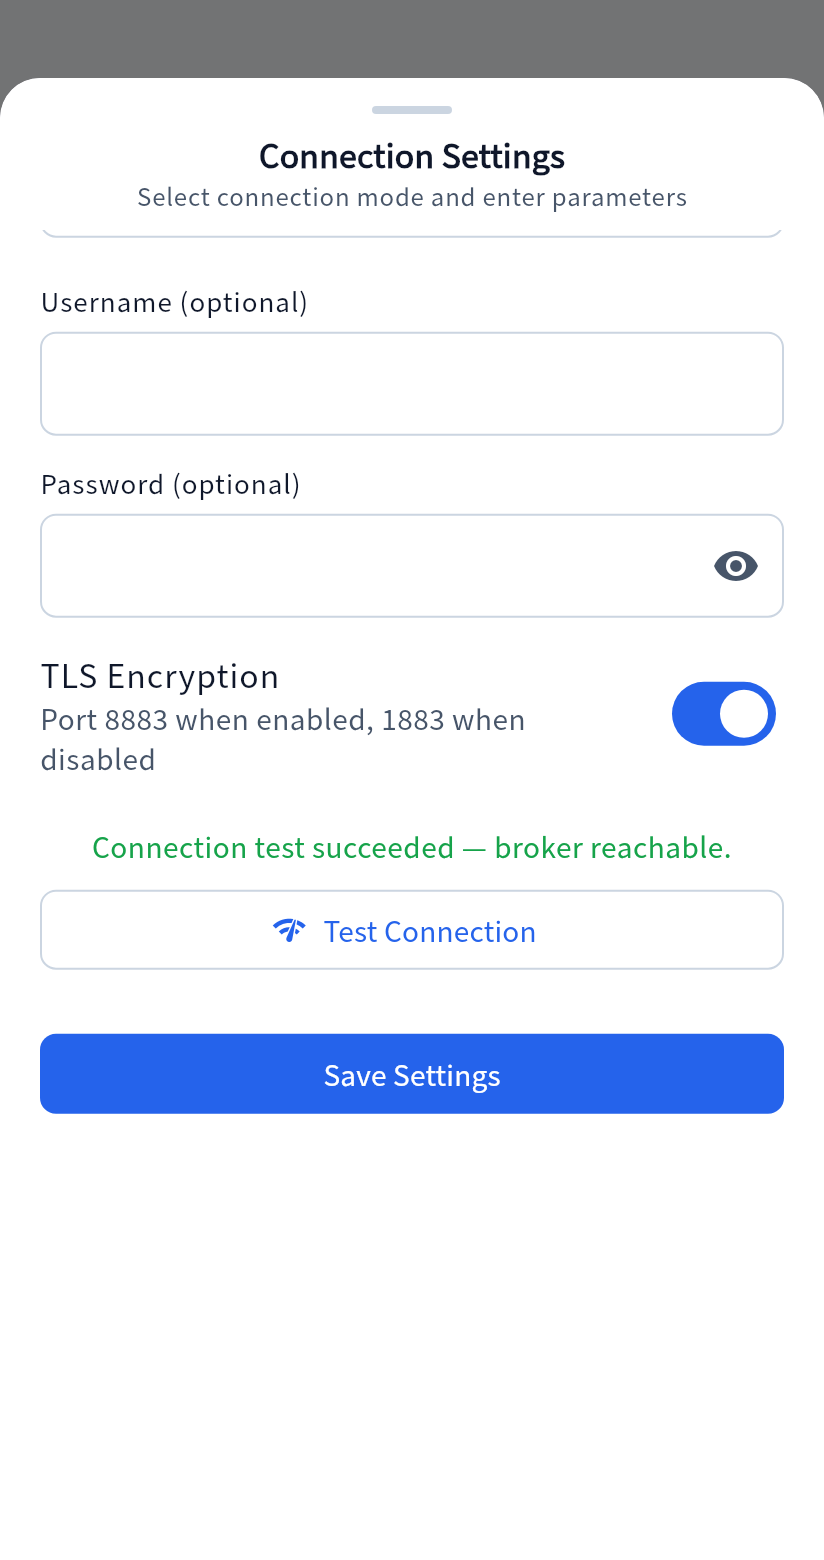
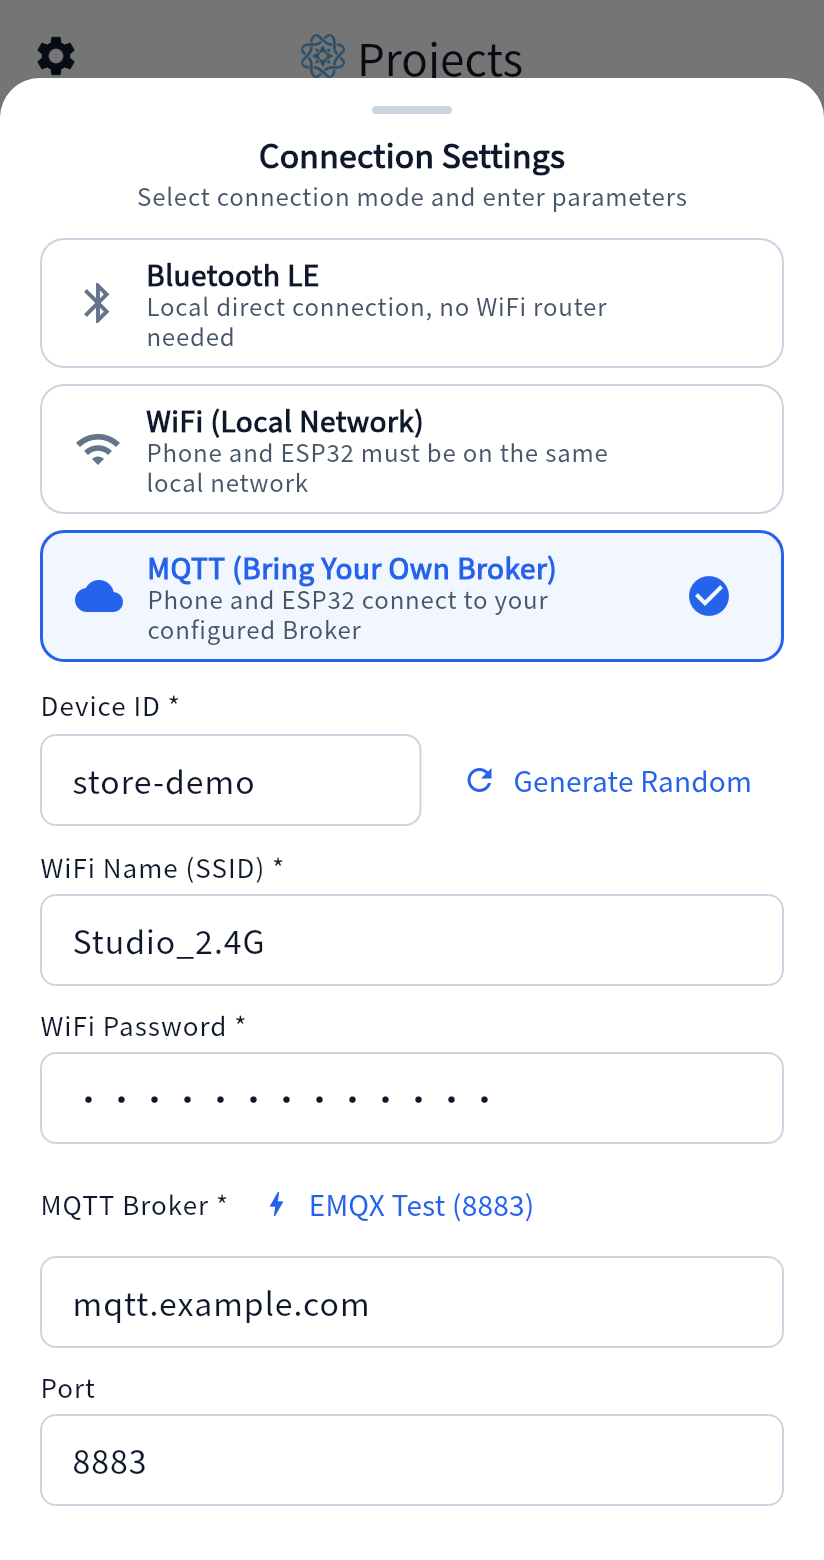
MQTT uses your own broker. WizDash does not run one.
- Device ID. After flashing, read it in the Serial Monitor and enter it in the project.
- Broker address. A local IP address or a hostname.
- Port. TLS defaults to 8883, and a connection without TLS defaults to 1883. Either port can be changed.
- Username and password. Fill these in only when the broker requires them.
- WiFi for the ESP32. The board needs a network connection before it can reach the broker.
Test Connection checks only that the phone can reach the broker at that moment. It does not bind the device, and it does not show that the board can connect. After any field changes, the earlier result no longer applies.
Remote control needs a path among all three. A broker on a home network is usually out of reach when you are away, unless you have made that broker reachable by both the phone and the board.
Only an MQTT project can update firmware over the air. See OTA updates.
Before compiling the MQTT sketch, install PubSubClient and ArduinoJson (v7 or later) in the Arduino IDE. See Required Arduino libraries.